 |
| 4/6/14 |
 |
| 4/6/14 |
As you can tell from above the restoration has begun! Took me a few weeks of a couple hours here and a couple hours there to work through the odds & ends of things to disconnect but finally the body is off the chassis.
I'm working in a two car garage and space is tight, so first I had to back the corvette out of the garage to have the space to build the body lifting rack and body dolly. The lifting rack was modeled off plans from the great website The Corvette Restoration Page. Here's a link to the
lifting rack plans. The rack was easy to build in a weekend afternoon, and fit perfectly under the chain mechanism for my automatic garage door opener. I added the X-bracing on each side after an initial attempt with the weight of the body and noticed the rack start to try to fold forward towards the front of the car. Used 2 x 4's for the X-bracing and that cured that problem nicely for me. The body dolly was built off of plans I found on the Corvette Forum. Many thanks to Alan71 for his plans and here's a link to the
post that contains those plans.
To get the lift started, I initially used a floor jack and wood blocking to get the body a couple inches in the air. This technique insured that anything encumbering the lift or still connected to the body could be spotted and taken care of before getting the body fully in the air. Several of these were discovered, such as rear bumper brackets, a ground wire, a couple vacuum hoses, etc.
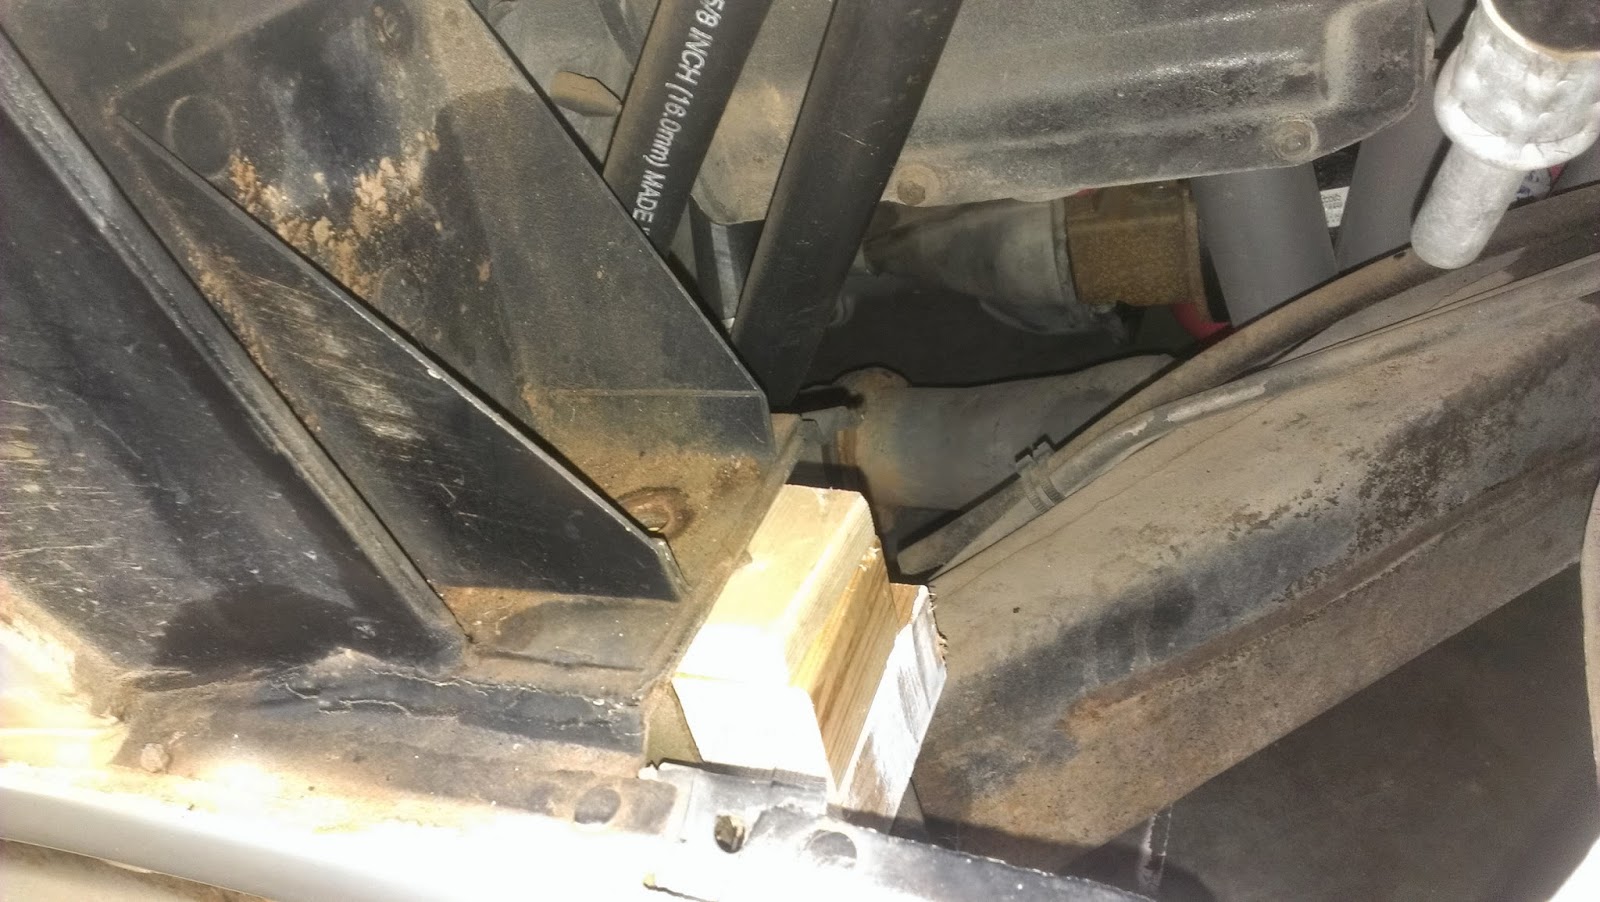 |
| passenger #1 body mount |
After all looked good to go, my father & I worked the chain falls in tandem to get the body up in the air, pushed the chassis out from underneath, positioned the body dolly under the body, and lowered the body onto the dolly. Voila! The body is separated from the chassis for the first time in 42 years!!! More difficult than it sounds and there were mishaps such as when one of the wheels broke off the dolly while trying to get it and the body over the lip from my driveway into my garage. Thankfully the body dolly was well built, and a quick repair was made. Then we made a phone call to my brother-in-law for extra muscle and successfully the three of us got it into the garage.
Next plan is to be sure I have everything photographed, cataloged, etc before dismantling the chassis for media blasting. I have over a hundred pics already to keep track of how everything goes back together, but taking more now with the body off. Looking forward to the next phase! Stay tuned...


